Macro inclusion photography
Choosing the Right Macro Lens Ratio for Submillimeter Inclusions
A tiny inclusion inside an amethyst point may appear as a bright fleck, a dark needle, a small veil, or a thread crossing the purple body color. For that subject, the practical answer is not to use the highest number available. Choose the lowest Macro Lens Magnification Ratio that makes the inclusion readable on the sensor while still preserving enough depth of field, working distance, light, and surrounding crystal context.
For many submillimeter inclusions, 1:1 is the sensible starting point. Move toward 2:1 when the feature remains too small to read. Treat 5:1 and microscope-objective work as specialized territory, not as the default for every tiny crystal detail.
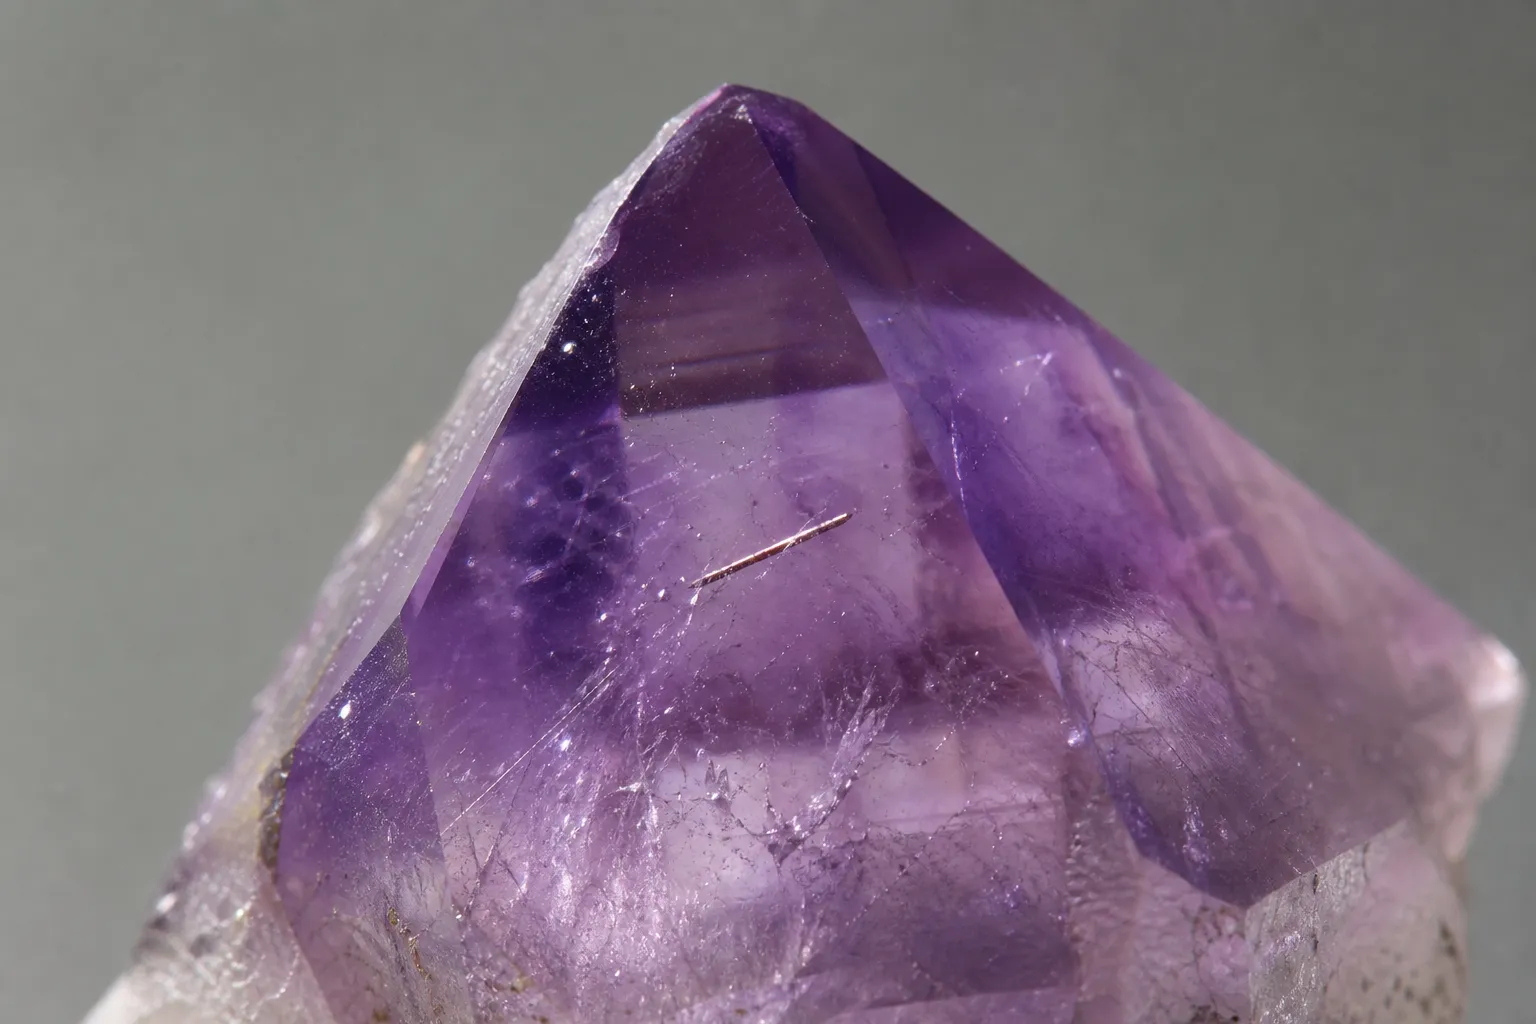
broader context
Amethyst context note
This narrower page lands better after the broader amethyst context page.
What the Ratio Means
A macro magnification ratio describes how large the subject is projected onto the camera sensor. At 1:1, a 1 mm feature projects as 1 mm on the sensor. This is the common life-size macro definition in photography: life-size sensor projection, not life-size display on a monitor, phone screen, or print.
That distinction matters for inclusions. A 0.5 mm mineral speck photographed at 1:1 projects as 0.5 mm on the sensor. At 2:1, it projects as 1 mm. At 5:1, it projects as 2.5 mm. The inclusion occupies more recorded image area as the ratio rises, but the practical cost rises too.
The ratio is also separate from focal length. A 100 mm macro lens and a shorter macro lens can both reach 1:1, while giving different working distances and lighting space. It is also separate from zoom ratio. For inclusion documentation, the first number to understand is the subject-to-sensor reproduction ratio.
For an amethyst collector, that keeps the decision grounded. The question is not which number sounds stronger; it is whether the inclusion can be shown clearly enough without losing the specimen’s form, color zoning, or depth cues.
Practical Ratio Range for Submillimeter Inclusions
Start at 1:1
Start at 1:1 if the inclusion is near 1 mm, has strong contrast, or needs visible surroundings. At this ratio, the image can still show nearby crystal habit, fractures, zoning, or surface geometry. That context often matters when the photograph is meant to document a specimen rather than create an abstract crystal-surface image.
Move to 2:1
Use 2:1 when the inclusion is clearly under 1 mm and remains visually weak at 1:1. A half-millimeter feature becomes more legible on the sensor, and the frame can still keep some neighboring quartz structure if the composition is careful. This is often the useful middle ground for small inclusions before handling becomes ultra-macro work.
Reserve 5:1
Reserve 5:1 for very small, flat, or high-contrast details where context matters less. At that level, the image may show a dramatic surface or internal feature, but depth of field, light, vibration, and alignment become much less forgiving. It is a practical boundary, not a universal recommendation.
If the subject demands far beyond 5:1, the work may have moved from ordinary macro lens selection into microscope-objective photomacrography. That can be appropriate for some micro-mineral imaging, but it is a different tool category with different expectations.
A useful rule is simple: increase magnification only until the inclusion is readable, then stop. The lowest practical magnification usually gives the most forgiving balance.
Why More Magnification Can Hurt the Image
As magnification increases, depth of field becomes a tighter limit. Depth of field is the range around the focus plane that appears acceptably sharp; in close-up work, that range can become extremely thin.
For inclusions, this is not only a surface issue. A tiny needle, bubble, veil, or beetle-leg crystal form may sit at a slight angle or pass through different depths inside the specimen. If only one sliver is sharp, a larger ratio may produce a bigger but less useful record.
Depth of focus is related, but not identical. Depth of field concerns how much subject depth can remain acceptably sharp. Depth of focus concerns tolerance around the image plane or sensor side of the system. For photographers choosing a ratio, the visible problem is usually field-side: how much of the inclusion and its immediate surroundings can be rendered clearly.
Working distance also becomes more restrictive as magnification rises, though the exact distance depends on lens design. Less space can make it harder to place diffused light, avoid reflections, and handle the specimen steadily. Amethyst points, clusters, and polished windows can reflect light in awkward ways; at high magnification, a small shift in angle can move glare across the inclusion.
Lighting becomes more demanding for the same reason. If the image becomes noisy, flat, or over-reflective, the extra magnification has not helped the collector’s task.
Sensor Size, Field of View, and Framing
Field of view depends on sensor size, focal length, and subject distance, while magnification ratio describes subject projection on the sensor. These ideas overlap in the final photograph, but they are not the same measurement.
A smaller sensor can make a subject look more tightly framed because it records a smaller area at the same reproduction ratio. A larger sensor records more surrounding area at the same ratio. That does not change the ratio itself; a 1 mm inclusion projected as 1 mm on the sensor is still 1:1. It changes how much of the specimen appears around it.
This is why submillimeter inclusion framing should begin with the intended use of the photograph. If the image is for a collection note, sales record, or comparison with the larger crystal habit, surrounding context matters. A slightly lower ratio may be more useful than a tight frame that removes evidence of location.
If the image is for visual study of one detail, more magnification may be justified. Still, the question remains practical: does the ratio show more usable detail, or does it simply enlarge blur, glare, dust, and shallow focus?
Focal length affects handling more than the ratio number alone suggests. A longer macro lens may allow more comfortable working distance at the same reproduction ratio, depending on the design. A shorter lens may be easier to position in some setups but can crowd the lighting. That is a framing and handling choice, not proof that one focal length is right for every inclusion.
A Quick Decision Method
Use the ratio as a staged decision, not a badge of seriousness.
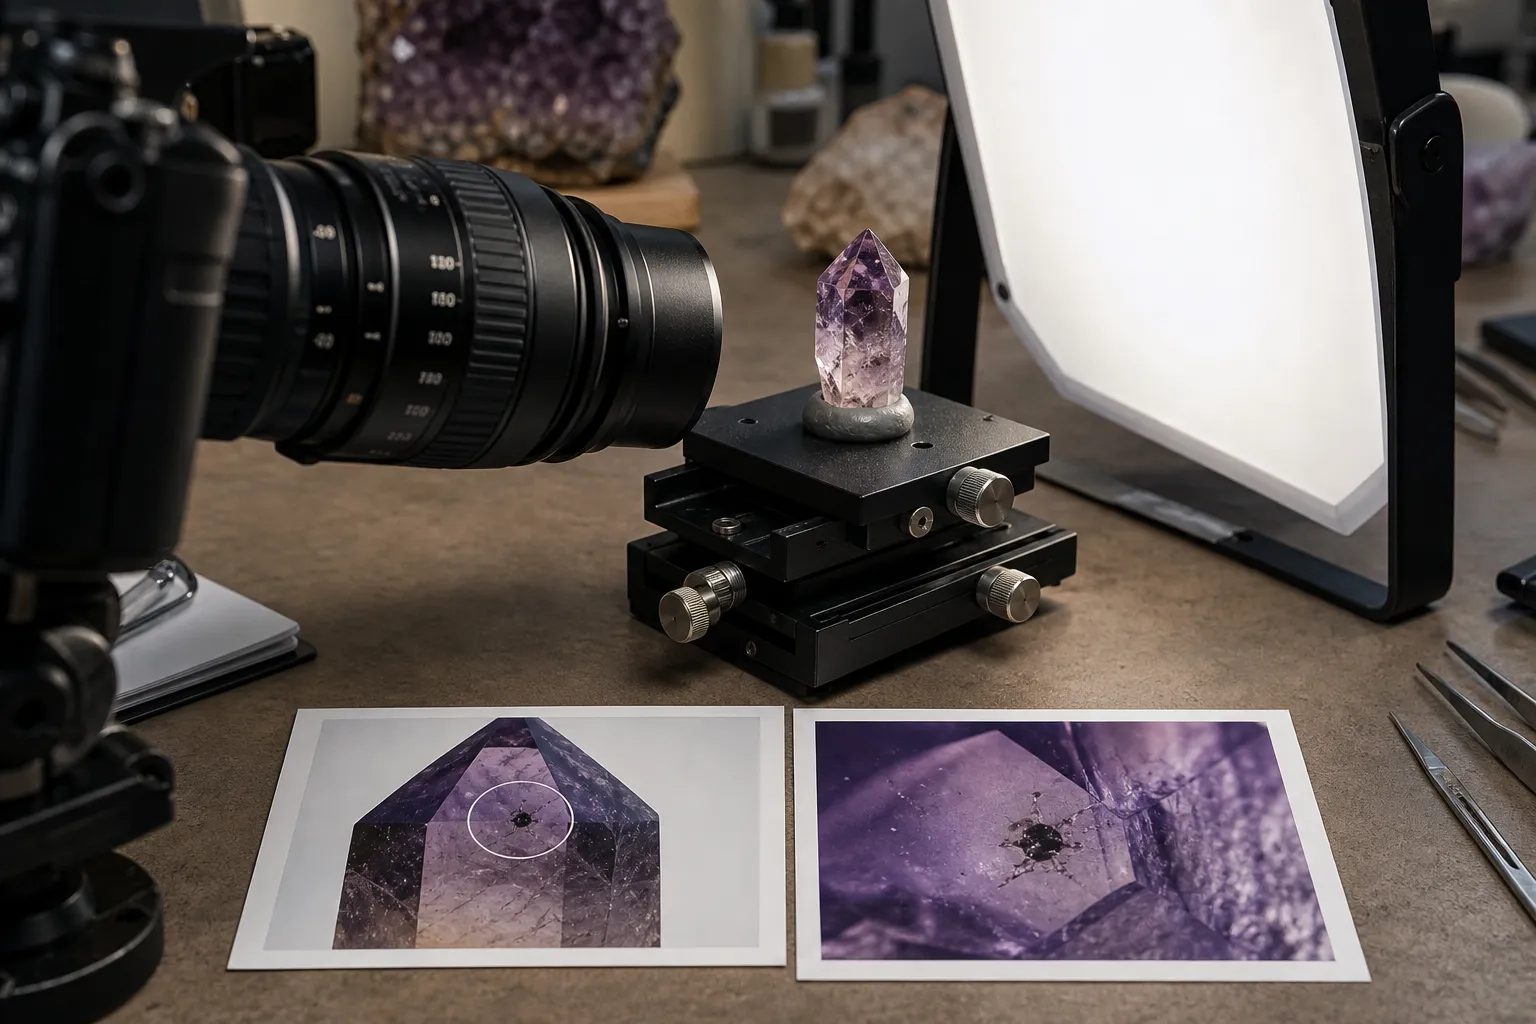
- First, photograph the inclusion at 1:1 if your lens allows it. Check whether the feature is visible enough on the sensor and whether nearby crystal context remains useful. If the inclusion reads clearly, there is no need to chase a higher number.
- Second, move to 2:1 if the feature is still too small or indistinct. At this stage, watch the depth of field more closely than the frame filling. If the inclusion becomes larger but only a narrow slice is sharp, the ratio may be too high for a single-frame document.
- Third, decide whether focus stacking is acceptable. Focus stacking can combine several focus positions when one frame cannot hold enough depth. For this page’s decision, stacking is a condition that may permit higher magnification; it is not a reason to ignore lighting, alignment, and subject stability.
- Fourth, stop before the image loses its purpose. If the inclusion fills the frame but no longer shows where it sits in the amethyst, the photograph may be beautiful but less useful for collector literacy. If the goal is artistic crystal texture, that may be fine. If the goal is documentation, context has value.
Common Confusions
Display size is not 1:1
One common confusion is treating 1:1 as a promise about display size. It is not. A 1:1 image can appear huge on a screen or small in a print, depending on cropping, viewing size, and output resolution. The ratio is about sensor projection.
5:1 is not automatically better
Another confusion is assuming 5:1 is automatically better for every submillimeter subject. It can help with a tiny flat detail, but it can also reduce working distance, complicate lighting, and leave too little subject depth in focus. For a three-dimensional inclusion, a lower ratio may preserve more useful information.
Zoom ratio is different
A third confusion is reading zoom-ratio language as macro-ratio language. A zoom specification describes a lens’s range of focal lengths or field changes, depending on the system. Macro reproduction ratio describes subject size compared with sensor projection size. For inclusion work, those numbers should not be swapped.
Microscope work is a tool change
Microscope magnification is not simply the next step on the same ladder. Microscope objectives, stereomicroscope viewing, and ultra-high magnification setups can be useful in specialized mineral imaging, but they change the equipment problem. If the inclusion requires that level, an ordinary macro lens ratio may no longer be the central decision.
The Evidence Limit
Public reference material supports the definitions: 1:1 means life-size projection on the sensor; depth of field is the object-side range that appears acceptably sharp; field of view depends on sensor size and focal-length relationships; depth of focus is a related sensor-side tolerance. It also supports the practical warning that higher magnification makes close-up work less forgiving.
What it does not support is one universal ratio for all submillimeter inclusions. Inclusions vary in size, contrast, depth, transparency, angle, and surrounding crystal structure. Amethyst specimens also vary: a polished face, a natural point, a cluster, and a fractured interior do not photograph the same way.
So the bounded recommendation remains conditional: begin at 1:1, move toward 2:1 when the inclusion is too small to read, and treat 5:1 or microscope-objective work as specialized. Let the usable photograph decide. A good inclusion image shows enough of the tiny feature to study it, enough surrounding amethyst to place it, and enough sharp depth to avoid turning a collector’s clue into a purple blur.
FAQ
Is 1:1 enough for submillimeter inclusions?
Often, yes, especially when the inclusion has good contrast or the photograph needs surrounding crystal context. If a 0.5 mm feature remains too small to read at 1:1, 2:1 is a reasonable next step.
Is 5:1 better for tiny inclusions?
Only in some cases. It can enlarge very small, flat, high-contrast details, but it also makes depth of field, lighting, vibration, and working distance harder to manage.
Does sensor size change the macro ratio?
No. Sensor size changes how much of the scene is recorded around the projected subject, but it does not change the reproduction ratio itself.
Can a macro photo identify or grade an inclusion?
A macro image can document visible features, location, contrast, and shape. It should not be treated as a stand-alone basis for identification, grading, pricing, or authentication.